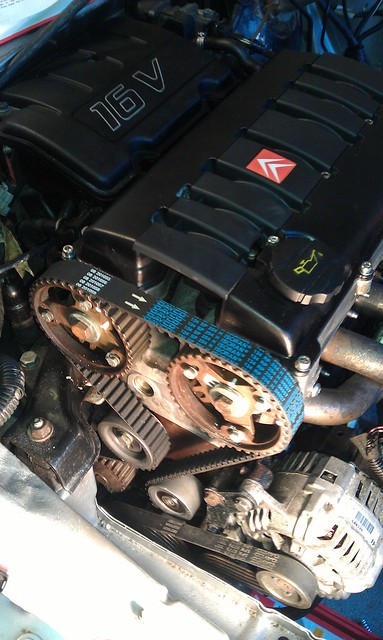
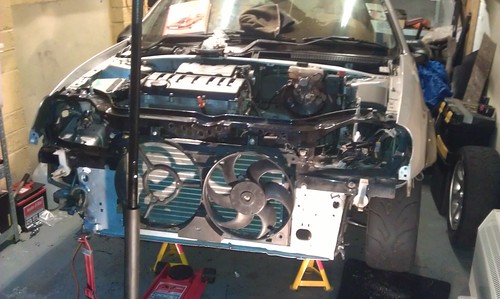
Ok, I've been catching a few hours here and there in the garage to do work on the Saxo over the last month. Things are coming along slowly.
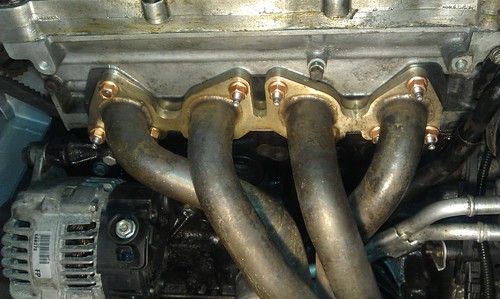
First off, the manifold is now fitted but I'm having trouble with the gearshift fouling on the cat pipe. It just makes a clanking noise when changing into second but I'm concerned that when the exhaust heats up it will be more of a problem.

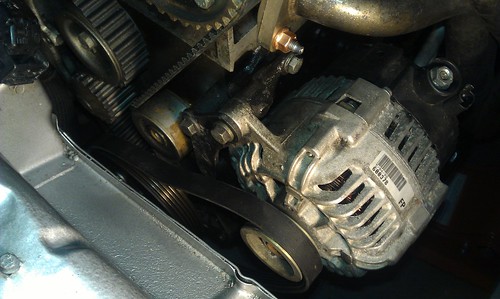
I also got hold of a new alternator. It took me a while to figure out how the tensioner system worked but I got there in the end. This will save having to recharge the battery during events.
I re-painted the rocker covers and got some shiny new bolts to fit them. Just to tidy things up a bit and make the engine bay look a bit more presentable (always helps at scrutineering!).
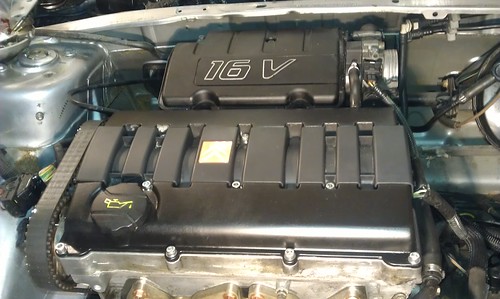
Today, I spent the whole day doing more jobs. I started by splicing in a new speed sensor connector. This is a three wire connector that plugs in to the speed sensor on the gearbox. It drives the speedo and also feeds back to the ECU. The signal wire had burnt out (I think related to the launch control system the last owner had) so I had to splice into the loom. So, out came the soldering iron and heat shrink - hopefully it will now work but I won't know until I can get the car on the road.
Next, I set about on the cam seals. These were the main source of oil leakage. I started by taking the cambelt off.

Then the cam sprockets came off and revealed the state of the seals. Seeing this, I was not at all surprised that they leaked.
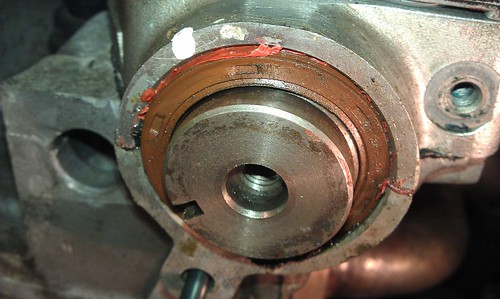
It came out very easily and then I popped the new seal in. Not sure how far in its meant to go - hopefully I've got it right.
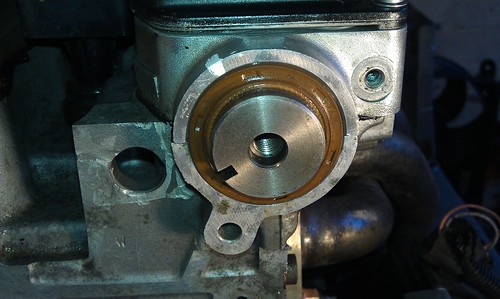
Next up, I'll be fitting the new cambelt tensioner and idler pulley before tackling the cambelt.
